
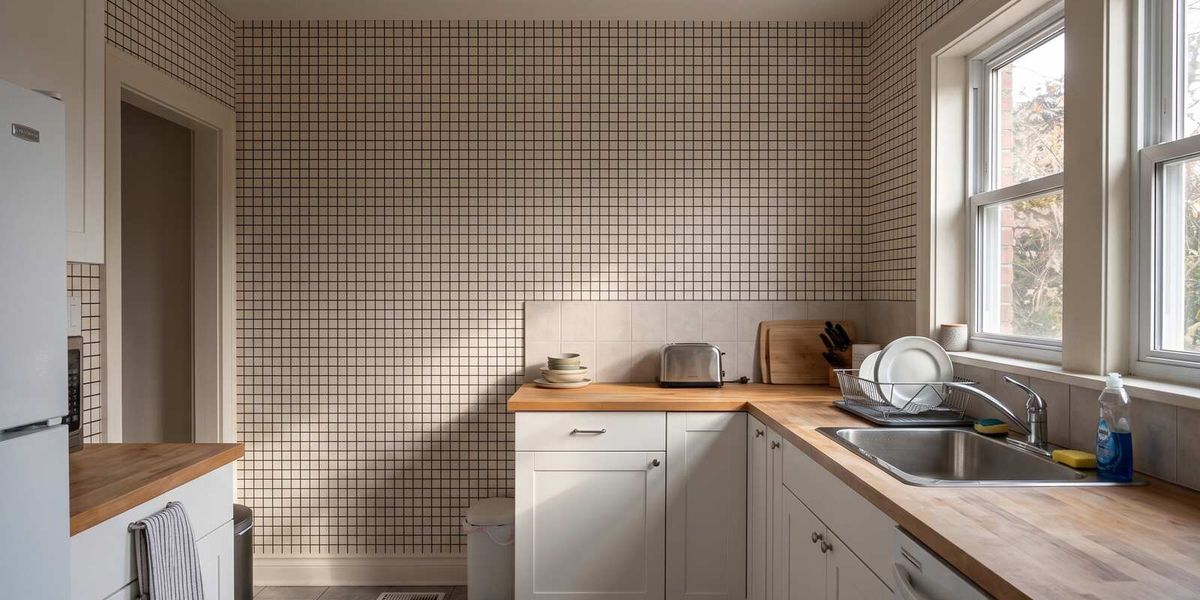
How to Apply Our Peel & Stick Wallpaper
Transform your space in minutes with our easy-to-install, renter-friendly wallpaper. Here is what you need and every step.
Proudly Made in Canada
How to Apply Our
Peel & Stick Wallpaper
Transform your space in minutes with our easy-to-install,
renter-friendly wallpaper
Wallpaper or mural? Check how your panels join
Everything on this page is the same for both — except where one panel meets the next.
Panels meet edge to edge with no overlap. Line up the pattern and press the seam flat.
Each panel overlaps the one before it by 1 inch. Don’t butt mural panels edge to edge.
Hanging Traditional Non-woven (paste the wall)? Follow our traditional wallpaper guide instead.
What you’ll need
- Tape measure — to check your wall and mark your lines
- Level or laser — for a straight first panel
- Squeegee or smoothing tool — a flap from the box works too
- Sharp utility knife — and fresh blades; it cuts cleaner than scissors
- Lint-free cloth — for wiping the wall down first
- Step stool — for the top of the wall
How to install
Prep the wall
Peel and stick needs a smooth, clean, painted wall. Wipe it down with mild soap and water and let it dry completely. If you’ve just painted, wait 3 to 4 weeks for the paint to cure. On lightly textured walls, a coat of primer gives a smoother base.
Lay out your panels
Every panel is labelled with a number. Lay them out on the floor in order so you know the sequence before anything goes on the wall.
Mark a straight line
Use your level or laser to mark a plumb line for the edge of panel one. Walls and ceilings are rarely straight, so trust the line, not the corner. We recommend working from left to right.
Hang the first panel
Peel back about 12 inches of the backing — not all of it. Line the panel up with your mark, leaving the extra at the ceiling (if you measured with 4 inches added, you’ll have about 2 inches spare on every side), and smooth it on from the top centre outwards. Keep peeling and smoothing as you work down.
It’s repositionable as you go, so if it drifts or a bubble appears, lift it and press it back down.
Add the next panel
Hang each panel in number order, the same way as the first. This is the one step that depends on what you ordered:
Wallpaper: butt the edges together, no overlap, and line up the pattern.
Murals: overlap the previous panel by 1 inch.
Trim and finish
Trim the excess at the ceiling, skirting and corners with a sharp blade against a straight edge. Change blades often — a dull one tears instead of cutting. Then stand back and admire it.
Pro tips
Don’t stretch it
Let each panel relax flat before it goes on. Stretching it to fit causes gaps and lifting later.
Outlets and switches
Switch off the power and take the cover plates off first. Hang over the box, trim around it, then screw the plates back on. Save your offcuts — you can wrap the plates to match.
Bathrooms and kitchens
Our peel and stick is waterproof, but run a thin bead of clear caulk along edges near sinks, tubs and splashbacks.
Renovating?
Hang your wallpaper last. Building work is dusty and messy, and other trades can scuff a finished wall.
Taking it down
Peel slowly from a top corner at a low angle. If the adhesive resists, a hairdryer on low softens it. Full removal guide.
Installing in Canadian conditions
Aim for room temperature
Hang it in a room between 18 and 24°C. The adhesive grips best at normal room temperature; in a cold room the panels stiffen and don’t bond as well.
Let the box warm up
If your order has been sitting in a cold car, porch or garage, bring it inside and leave it unopened for a couple of hours before you start.
Cold outside walls
In winter, an exterior wall can be several degrees colder than the room. Keep the heat on the day before so the wall surface warms through.
Dry winter air
Furnace-dry air builds static, which pulls dust onto the wall and the adhesive. Wipe the wall with a slightly damp cloth, let it dry, then start hanging.
Humid summer days
On sticky days, run the air conditioning or a dehumidifier while you work. If the wall feels damp to the touch, wait for a drier day.
Bathrooms after hanging
Give it 48 hours before the first hot shower, and keep the fan running so steam clears quickly.
Troubleshooting
A bubble won’t go
While you’re hanging, lift the panel back past the bubble and smooth it out towards the nearest edge. For a small bubble you spot later, prick it with a pin and press the air out.
An edge is lifting
It’s usually dust, grease or paint that hasn’t fully cured underneath. Lift the edge, wipe the wall, let it dry, then press it down firmly for 30 seconds. A few seconds of a hairdryer on low helps it grip.
The pattern doesn’t line up
Peel the panel back and reposition it — it’s designed to move while you hang. Match the pattern at eye level first, where a mismatch shows most.
A gap at a seam
Wallpaper: slide the panel across until it butts the last one, without stretching it. Murals: check you’ve kept the 1-inch overlap.
Running short at the floor
Start each panel at the ceiling with the extra above the line. If you measured with 4 inches added, you’ll have about 2 inches to trim at every edge.
Not ordered yet?
Feel all three materials first with free swatches, posted to you in an envelope.
Order free swatchesFAQs
Do the panels overlap?
Only on murals. Mural panels overlap the previous panel by 1 inch at every seam. Patterned wallpaper panels don’t overlap — butt them edge to edge and line up the pattern.
Can I install peel and stick on textured walls?
It works best on smooth, painted walls. Light texture is usually fine with a coat of primer first. Heavy texture reduces grip, can make edges lift and may show through, so test a sample first or consider skim-coating the wall.
How soon can I hang it after painting?
Wait 3 to 4 weeks. Paint that’s dry to the touch isn’t fully cured, and adhesive applied too early can lift, or pull paint off when it’s removed.
Is it renter friendly?
Yes. It comes off without damaging walls in good condition, so you can take it down before you move out. If your paint is old or wasn’t primed, test a small piece first.
Can I use it in a bathroom or kitchen?
Yes, it’s waterproof and washable. Avoid walls in constant contact with water, like inside a shower, and caulk the edges near sinks and tubs.
Should I hire an installer?
Most wallpaper jobs take a confident DIYer about half a day. For very wide walls, high ceilings or large murals, a pro is worth it — find an installer near you.