
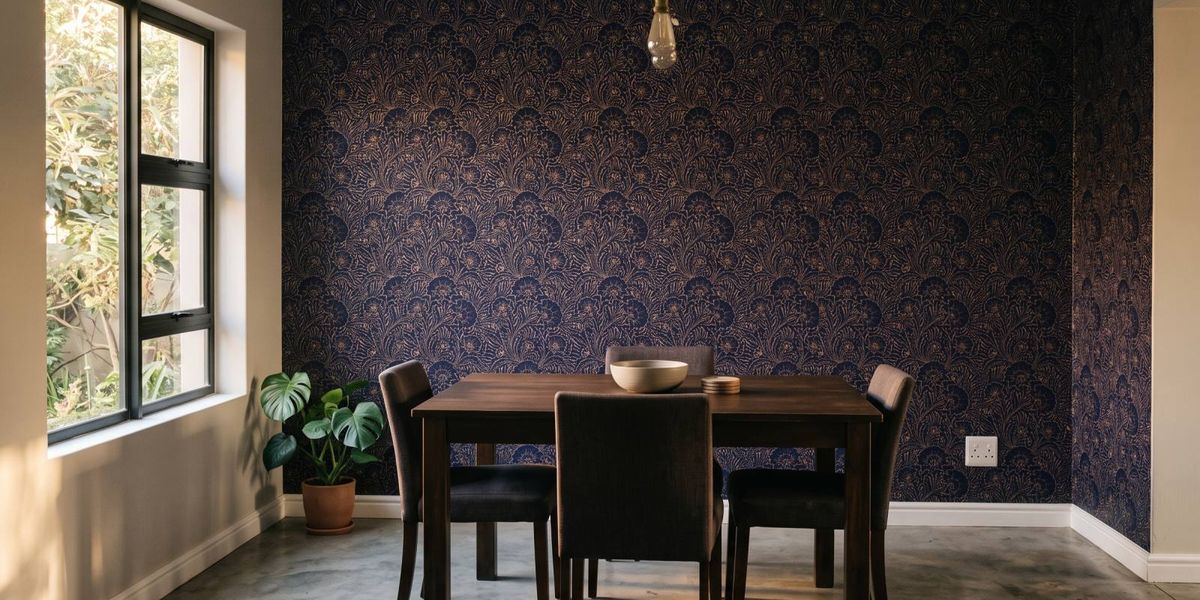
How to Apply Our Traditional Wallpaper
Traditional wallpaper and murals add timeless style and lasting quality. Here is the kit, the steps and the pro tips from our Vancouver studio.
Proudly Made in Canada
How to Apply Our
Traditional Wallpaper
Installing traditional wallpaper and murals adds timeless style, rich texture, and lasting quality to any space.
The classic "old school" wallpaper experience, made simpler.
Paste the wall, and butt every seam
Our traditional wallpaper is non-woven, so the paste goes on the wall, not the paper — no soaking, no pasting table. And every panel meets the next edge to edge.
On traditional, murals butt edge to edge too. Line up the pattern or image, then roll the seam flat.
Hanging peel and stick instead? Mural panels overlap by 1″ there — follow our peel and stick guide.
What you’ll need
- Heavy-duty wallpaper paste — any good one from a DIY store
- Paste roller and tray — for rolling paste onto the wall
- Matte wallpaper primer — for grip now and easier removal later
- Level or laser — for a straight first panel
- Smoothing brush or felt roller — to push out air
- Seam roller — to press the joins flat
- Sharp utility knife and metal straight edge — with plenty of fresh blades
- Sponge and clean water — to wipe off stray paste
- Tape measure and pencil — for marking your lines
- Drop cloth and step stool — paste gets everywhere
How to install
Prep and prime the wall
Start with a smooth, clean wall: wipe it down with mild soap and water and let it dry completely. If you’ve just painted, wait 3 to 4 weeks for the paint to cure. Then roll on a matte wallpaper primer — it helps the paste grip and makes the paper far easier to remove one day.
Lay out your panels
Every panel is labelled with a number. If you measured with 4 inches added, you’ll have about 2 inches spare on every side for trimming. Lay them out on the floor in order so you know the sequence.
Mark a straight line
Use your level or laser to mark a plumb line for the edge of panel one. Walls and ceilings are rarely straight, so trust the line, not the corner.
Paste the wall
Mix the paste as the maker directs, until it’s smooth and lump-free. Roll it onto the wall — not the paper — one panel at a time, a little wider than the panel so the edges are covered.
Hang, butt and smooth
Hang the dry panel against your line, letting the extra run onto the ceiling and skirting. Smooth from the centre outwards to push out air. Paste the next section and hang the next panel in number order.
Every seam: butt the edges together with no overlap — wallpaper and murals alike. Line up the pattern, then press the join flat with your seam roller.
Trim and clean up
Trim the excess at the ceiling and skirting with a fresh blade against a metal straight edge. Wipe any paste off the face of the paper with a damp sponge before it dries.
Pro tips
Match at eye level
Line the pattern up around 5 feet from the floor — that’s where anyone will notice a mismatch.
Corners
Wrap the paper about 1 inch around an inside corner, then start the next panel right at the corner edge for a clean finish.
Don’t overwork it
Smooth gently. Pushing too hard stretches the paper and opens up the seams as it dries.
Outlets and switches
Switch off the power and take the cover plates off first. Hang over the box, trim around it, then screw the plates back on.
Keep your tools clean
Rinse your brush, roller and sponge often so dried paste doesn’t end up on the next panel.
Give it time
Let it dry for 24 to 48 hours before pushing furniture back or hanging artwork.
Renovating?
Hang your wallpaper last. Building work is dusty and messy, and other trades can scuff a finished wall.
Not sure it’s the right material?
Compare traditional with our two peel and stick finishes, and order free swatches of all three.
Compare materialsRather not DIY?
Traditional is the installer’s favourite. We work with experienced installers across Canada.
Find an installerFAQs
Do mural panels overlap on traditional?
No. On traditional, every seam butts edge to edge — wallpaper and murals alike. Only our peel and stick murals overlap, by 1 inch.
How is traditional different from peel and stick?
Traditional is hung with wallpaper paste and gives the classic, authentic wallpaper finish. Peel and stick is self-adhesive, quicker to hang and easier to remove, and it’s waterproof. Compare all three materials.
Is it hard for a beginner?
It’s more involved than peel and stick, but very doable with good prep and patience — especially on the first panel. Pasting the wall is much easier than old-style paste-the-paper wallpaper. For big walls or large murals, many people use a professional installer.
Which paste should I use?
A heavy-duty wallpaper paste. Any good one from a Canadian DIY store, such as Home Depot, Lowe’s or RONA, will do. Mix it as the maker directs.
Can I use it in a bathroom or kitchen?
It’s wipeable but not waterproof, so keep it to well-ventilated rooms and walls away from water — a powder room, or a kitchen wall away from the sink. For splash zones, choose peel and stick.
How soon can I hang it after painting?
Wait 3 to 4 weeks for the paint to cure fully, then prime with a matte wallpaper primer before you paste.
How do I remove it later?
Score the surface, soak it with a wallpaper removal solution, let it work, then scrape the paper away. A coat of primer before you hang makes this much easier.